|
For our fifth and last project with our students in Community Connection, we chose to facilitate a lesson where nature was the concept. We designed the lesson to be in the station format, again, because we knew that is helps moving around and creating different pieces of art. This time, we took it a step forward and went outside for one of the stations. The first station we planned was to explore the outside of the Visual Arts Building while looking for natural material, such as rocks, sticks, weird twigs, etc. By adding an outside station, it allowed our students to seek art in a way that is not just inside the art classroom. Every day, we go outside sometimes forgetting how nature is art itself. One of our students, Anna, took her time to look at each color of the rocks and collected the most interesting. Then she was able to tell me why she chose that certain rock. Most of them were pink because her favorite color is pink, but she also enjoyed cool designs naturally created in the rock. The second station that followed the collections of natural materials was the use of paint with found materials. One of our main focus was that artists can create art with any material, organic or inorganic. It was amazing to see how different every painting was because of the different material the students used to paint with. For example, Jared, who is one of our students, developed a strong use of color in his painting overtime with sticks, rocks, and pine needles. We were able to watch him layer different colors into other colors. The pictures are below this post. As artists, Jared highlighted the process of discovery. He had no idea what he was going to create, but then decided to try different textures and different movement with his arms and body. When he made a new discovery or mark he liked, he would express it to who was around him. The third station implemented a three-dimensional aspect to the lesson. We gave students the opportunity to draw on paper, then create a star out of the multiple fanned bags. It was interesting to see how some students absolutely loved them, and some did not. This allowed the lesson to be chopped up and differentiated enough for students to dive deep into the station they enjoy most. An interesting observation that we had as we watched students create 3-D stars was they idea of décor, Lauren was very interested in hanging the star in her bedroom which led to other creations to hang in her room. The spread of ideas and excitement showcased that varying different ways of creating art can be very useful in differentiated learning. Being able to teach lessons for Community Connections has been such a learning experience and as we reflected on it, we learned that it is important to listen to what your students desire, expect to constantly accommodate, and take the time to know your students. 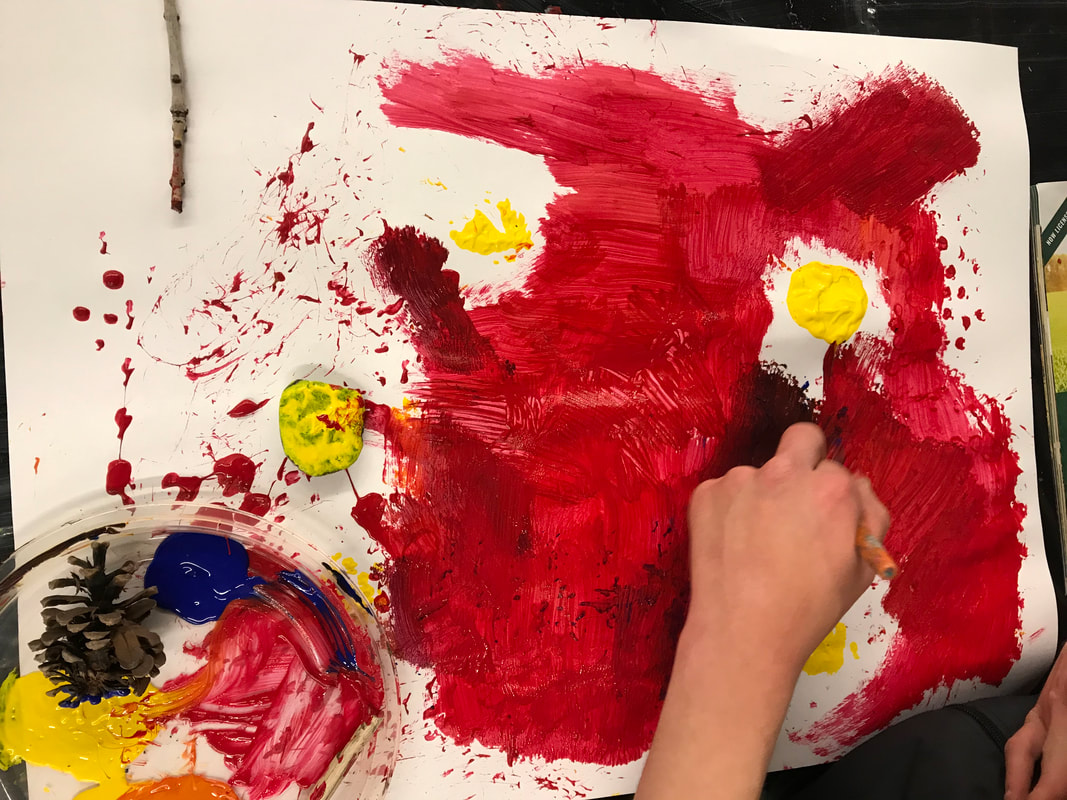 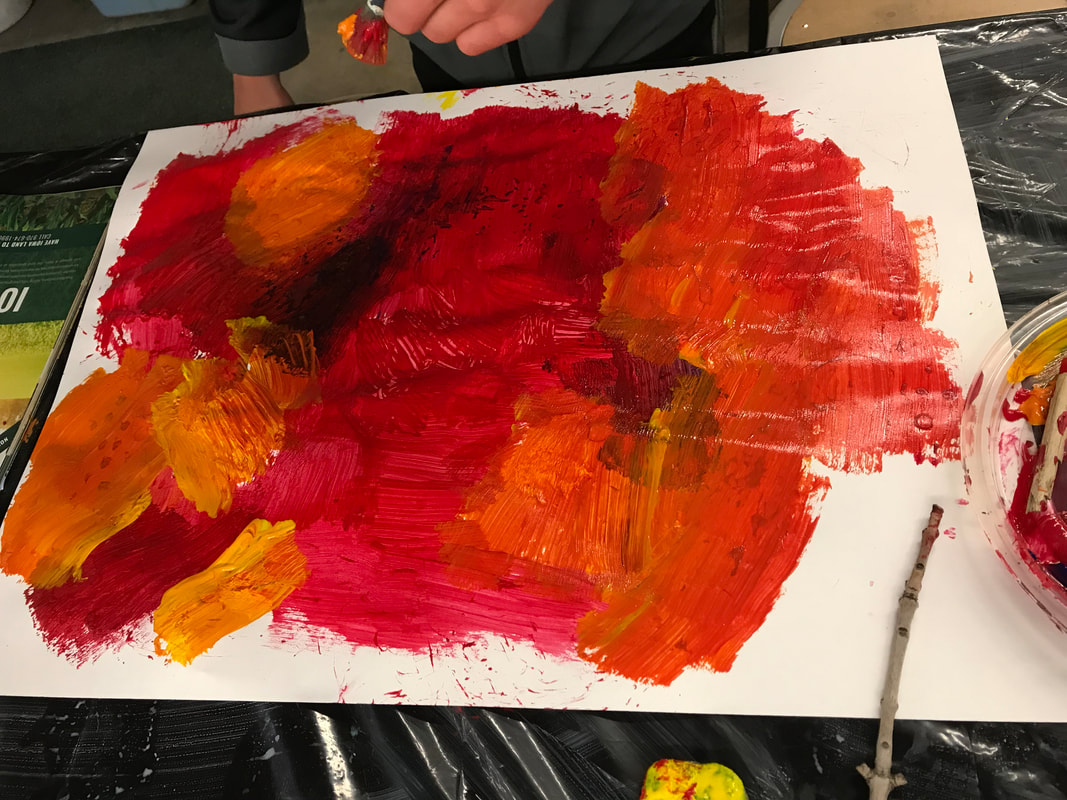
0 Comments
For our fourth project, we decided to mix it up and give students opportunities to move around, interact with different media, and see color mixing in different perspectives. First, we introduced the idea of color mixing and gave them freedom to choose what they wanted to do. The first station dealt with shaving cream color mixing. Every student took a bag, filled it with shaving cream, add food coloring, then drawing with it like icing on a cake. This allowed students to play and focus on sensory art. Allow some students loved to simply spend time with the material, we saw the students learning through what colors they wanted to make and how. For example, one of our students, Brady, wanted to make the color, green. He expressed his desires and discovered that to make green shaving cream, he had to add yellow and blue. To go a little further, Brady started to explore the idea of the intensity of color. If he put more food coloring in the shaving cream, it was going to be a much brighter color. Our students value playing and exploration and this project was based off of process art, which we have learned is their favorite throughout the semester. The second station revolved around acrylic paint and unusual tools to apply the paint with. All students were given red, blue, and yellow paint, sponges, and a bundle of straw/sticks. The taped down piece of paper allowed them to use and apply the paint however they wanted to while watching the color reveal other colors. As each student applied different colors over other colors, they started to see that it was changing. Jared, one of our students, was able to express and identify the colors by pointing. Many of our students are at different levels when it comes to color theory, but every single student express their discovery, learning, and excitement in different ways. At this station, students started to personally connect to colors. Brady loves Chuck E Cheese and that was his reasoning for making purple. He had a motivation behind his color mixing and it was really cool to see him develop personal relevance to his artwork. The third station allowed students to push forward in watercolor and drawing. Because we have incorporated this material in other projects, students were already familiar with how to use it. Although they had background knowledge, we gave them options to use colored pencils and crayons under watercolor for resistance and take a closer look into how colors can be mixed. There were more than just primary colors provided so students had more freedom to mix unusual colors. The ultimate takeaway was that students got to draw, paint, or do both at this station. They could draw circles, or something that interests them. One of our students, Kale, loved the idea of drawing fire so he started to explain what colors he thinks represents heat and what colors represents cold. After, we set out and organized cold and hot colors. Kale discovered ways he could communicate what he was drawing because of the colors he drew with. By listening to the needs and desires of our students, we have been able to step forward into new projects knowing that the students will be fully engaged and personally connected to the piece of art. These stations allowed freedom, discovery, and simulation though three dimensional and two dimensional art. 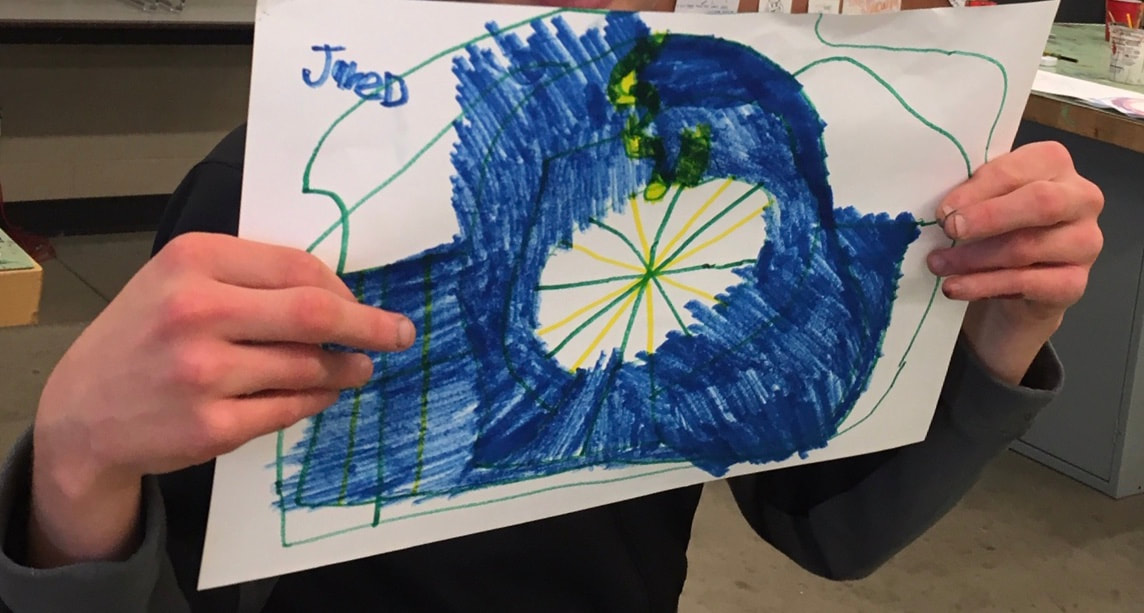 During our third class, we discovered with different combination of materials to create individual ideas of what an alien would look like. First, we started brainstorming what aliens look like while experimenting with oil pastels. Students were able to try different colors on the paper and use marks to communicate different ideas. By using oil pastels, they were able to feel comfortable with the grip and mark that it makes. Then, we introduced the idea of painting watercolor over the oil pastels, which created a resistance. The two medias allowed the students to choose which they like best. For example, the oil pastel’s line was more exact while the watercolor’s line was loose. We also gave students a third material to experiment with, cutting out pieces of magazines. We gave this option for students who did not have interested in messy materials. Differentiating the materials gave students choice and freedom. Allowing students to use their imagination and express their own ideas while understanding how different materials work, was the intended purpose of this project. Making marks with oil pastels, painting with different sized brushes, problem solving, and communication were the key skills we used.  In this class we explored using clay to recreate from the students imagination what an alien would look like. By starting out drawing their aliens first they were able to recreate or draw inspiration from their first drawings of aliens to creating from clay their final alien. When using the clay students had access to different tools to create different forms of texture and shapes, adding to their aliens characteristics or environment. The students worked toward creating and utilizing their imagination to create clay aliens from a drawn work done during the beginning of class. With this project students learned or expanded they're existing knowledge of working with clay and drawing from their imagination. The main takeaway from this project was seeing how this class utilized they're drawing, the exploration of the clay tools and how the clay can be formed, into creating an alien of their own creation. And how they're beginning drawing influenced their clay alien. The key skills students learned was molding and shaping the clay, with found tools, to physically create a 3D form. The objective for this class was for students to utilize their imagination, and thought process of what might an alien look like, what shapes and texture is their skin, ect. Being able to explore that imagination, produce it into a drawing, then finally reproduce that drawing and inspiration into a 3D alien from clay. Molding and shaping that clay, with the clay tools and/or using their hands. 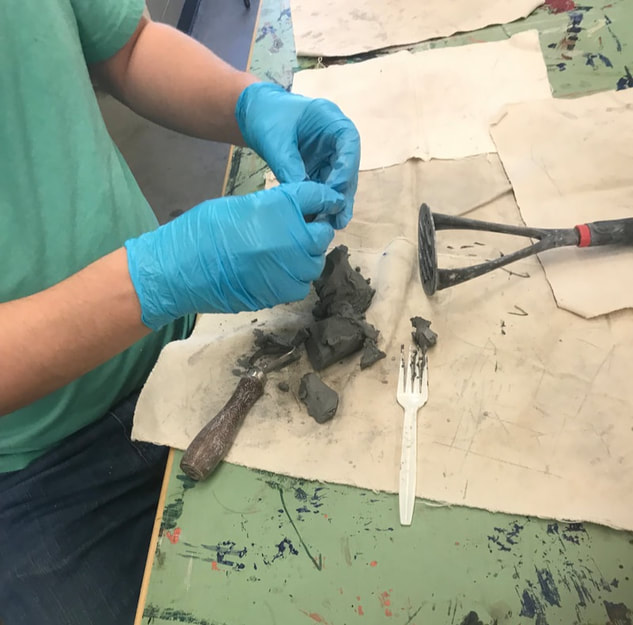 Brady utilized the tools to add and take clay away from his alien, and even created a planet for his alien to sit on, using the kitchen tool, fork and shaping with his hands. In this class session, we taught the students how to make shaving cream prints.
This is a fun process where you can drop food coloring into a flat, thick layer of shaving cream and create patterns with the color by swirling it around with a pencil or another similarly shaped object. After the pattern is created, you can set a piece of white printer paper on top of the shaving cream, pat it down a bit, then lift up the paper to see your new print! With this project, these students can learn how to mix colors and transfer them from shaving cream to the paper. And they can work on fine motor skills such as smoothing out the shaving cream with a ruler and making patterns with a thin tool. The main takeaway of this class was to see how colors can mix and blend to create new colors and to learn how they can be transferred from one material to another. Through this process, the students also learn that materials have more uses than what the material is initially intended for. The shaving cream’s original purpose was not to make color prints. But it works, so we use it. It’s a quirky demonstration of how there are many ways to do something and many ways to use something. The objective of the class was for the students to understand how color can be added, strengthened, weakened, and mixed – and then transferred. The shaving cream was a tool but was also like adding white to a color. The food coloring used needed to be added to strengthen a color. And multiple colors added to the shaving cream were eventually mixed. The key skills acquired through this was adding and mixing colors to create an image or pattern and being physically able to do so. |
